How to Draw Green Arrow Full Body
At one point, the bow and arrow was the nigh sophisticated weaponry bachelor in the world!
They aren't used as oftentimes anymore these days, but many people still savor using them for sport or fifty-fifty merely to collect.
Fans of the bow and arrow may also like to create their ain custom versions of the weapon, so learning how to draw an arrow is a great way to practice that.
Past the stop of the guide, you volition be able to design your ain crawly arrow variation.
We hope you accept lots of fun on this pace-by-pace guide on how to depict an arrow in half-dozen steps!![]()
What'south in this Blog Post
- How to Draw An Pointer – Let's Get Started!
- Step one
- Step ii – Side by side, start drawing the middle of the pointer
- Stride 3 – Depict some more than of the shaft
- Pace 4 – Now, draw the finish of the arrow shaft
- Step 5 – Finish off the fletching of the pointer
- Step 6 – Finish off your arrow drawing with some color
- Your Pointer Cartoon is Complete!
How to Draw An Arrow – Let's Get Started!
Stride ane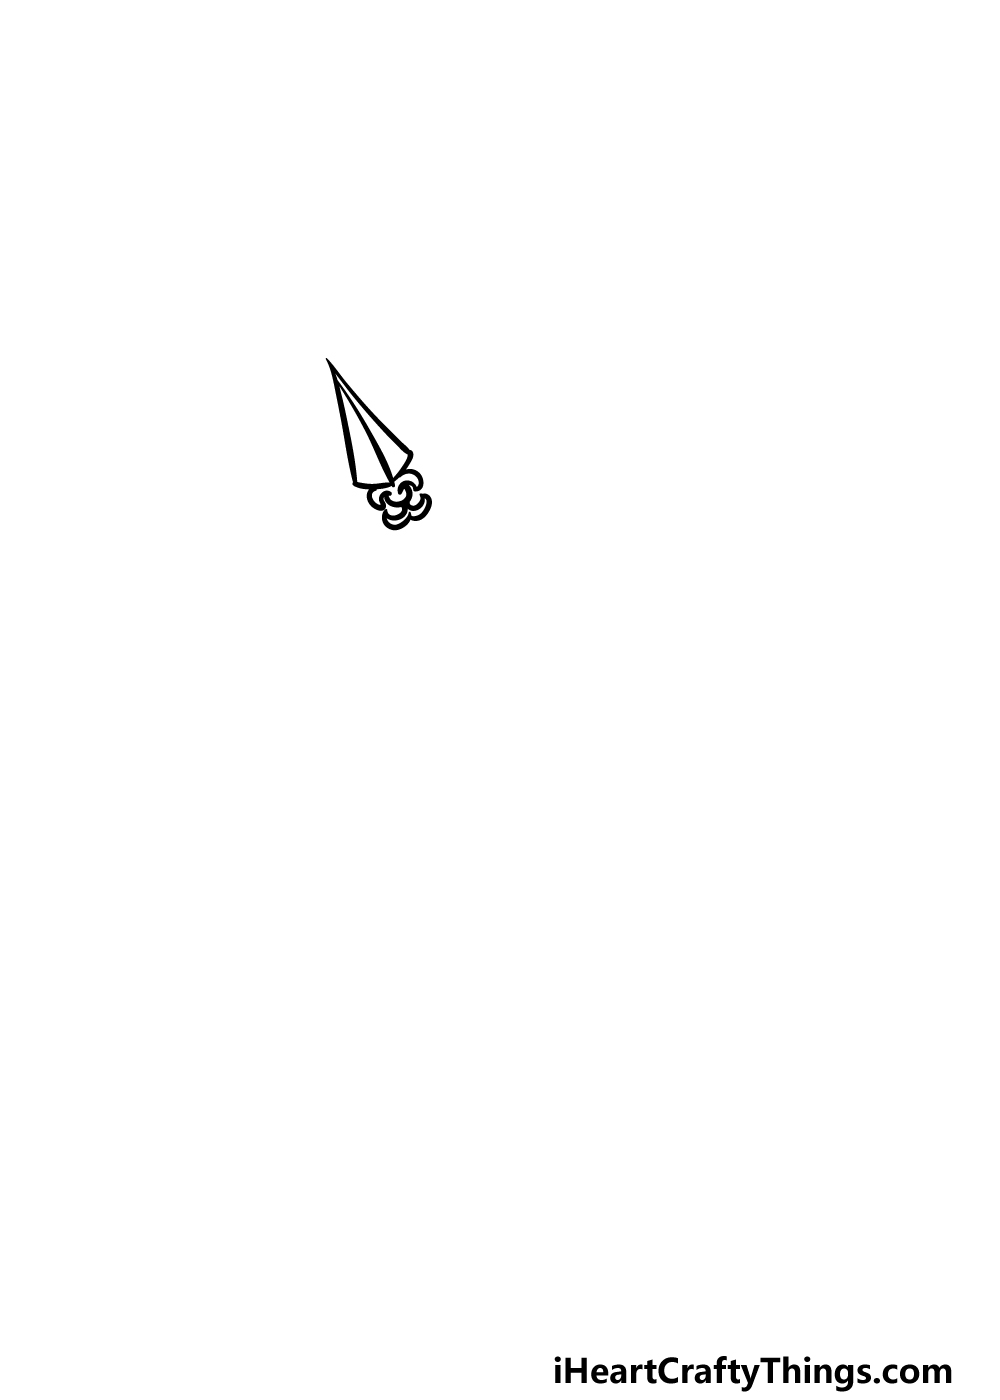
For this guide on how to depict an arrow, we volition be drawing a really cool ornate design for it. To start with, we will draw the tip of the arrow.
For this and some upcoming steps of the guide, you may desire to have a ruler on manus as nosotros will be drawing lots of directly lines. Outset off by drawing ii lines that connect at a very sharp point that move slightly outward.
So, use two shorter lines to connect them at the base of operations of the tip. These shorter lines will also class a less sharp indicate at the lesser.
Next, draw a line down the center of the arrowhead, so use some brusk and curved lines for the detailing at the base of the arrowhead. If any of this sounds disruptive, the reference picture will guide yous as to how it should look!
Step 2 – Adjacent, start drawing the centre of the arrow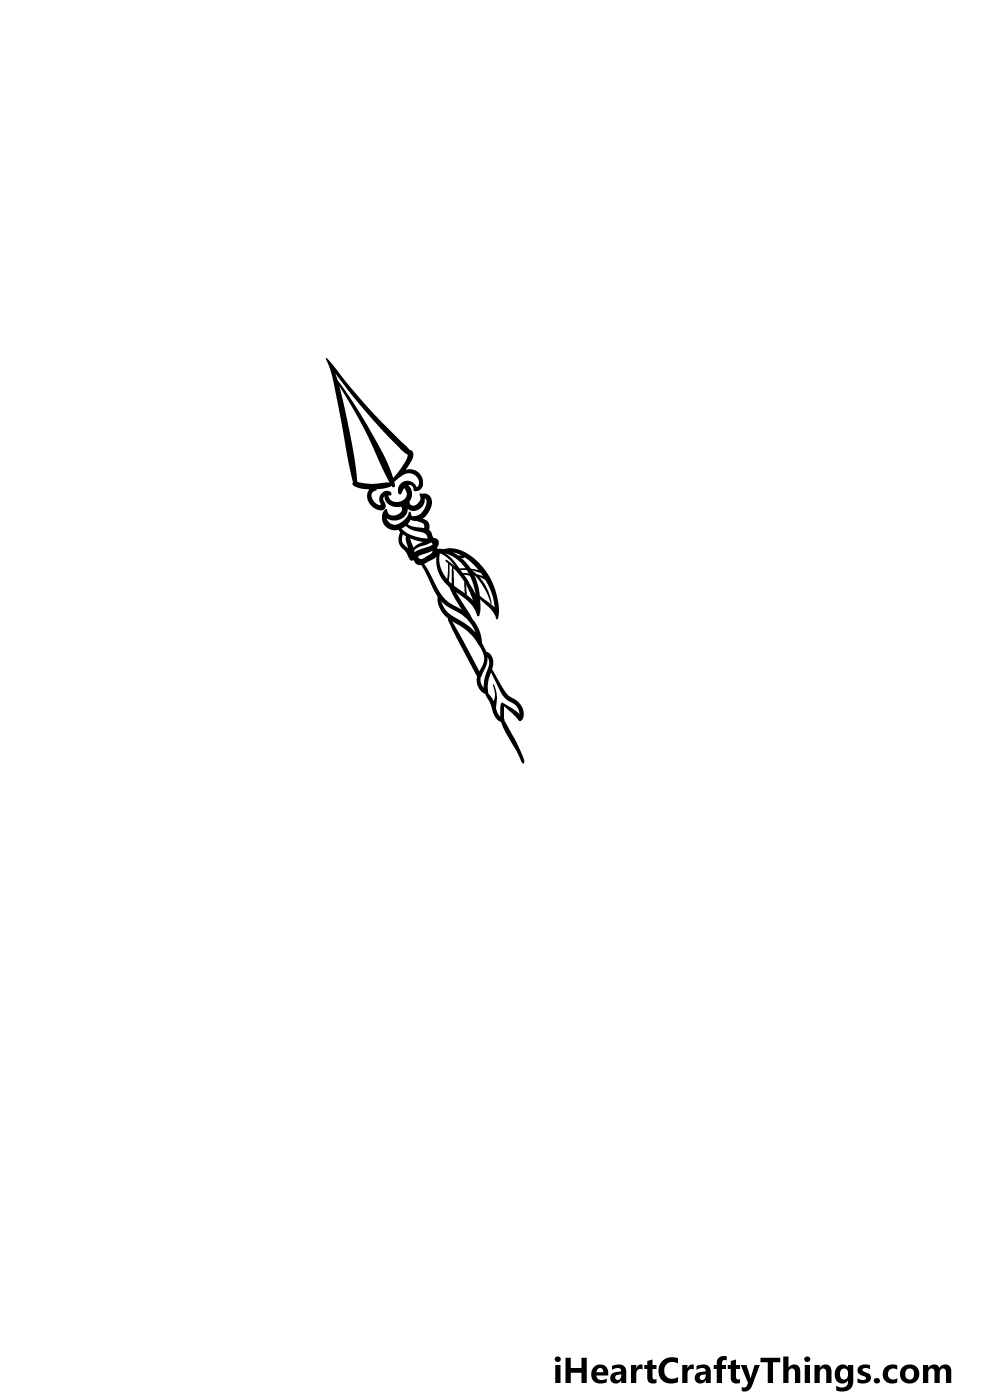
In this office of your arrow drawing, we will be drawing the cardinal body or 'shaft' of the pointer. For this design, nosotros will be adding more ornate detail to this part of the arrow as well.
To make things easier on yourself, you could use a pencil to draw the lines of the shaft to give you lot a reference as you depict.
Then, draw some string details tied nether the head of the arrow, and then add a small foliage onto those details.
Finally, we will describe some more than thin rope snaking downwardly the shaft of the arrow, so you can draw the straight lines of the shaft between them. Then it'south on to step three!
Step iii – Describe some more of the shaft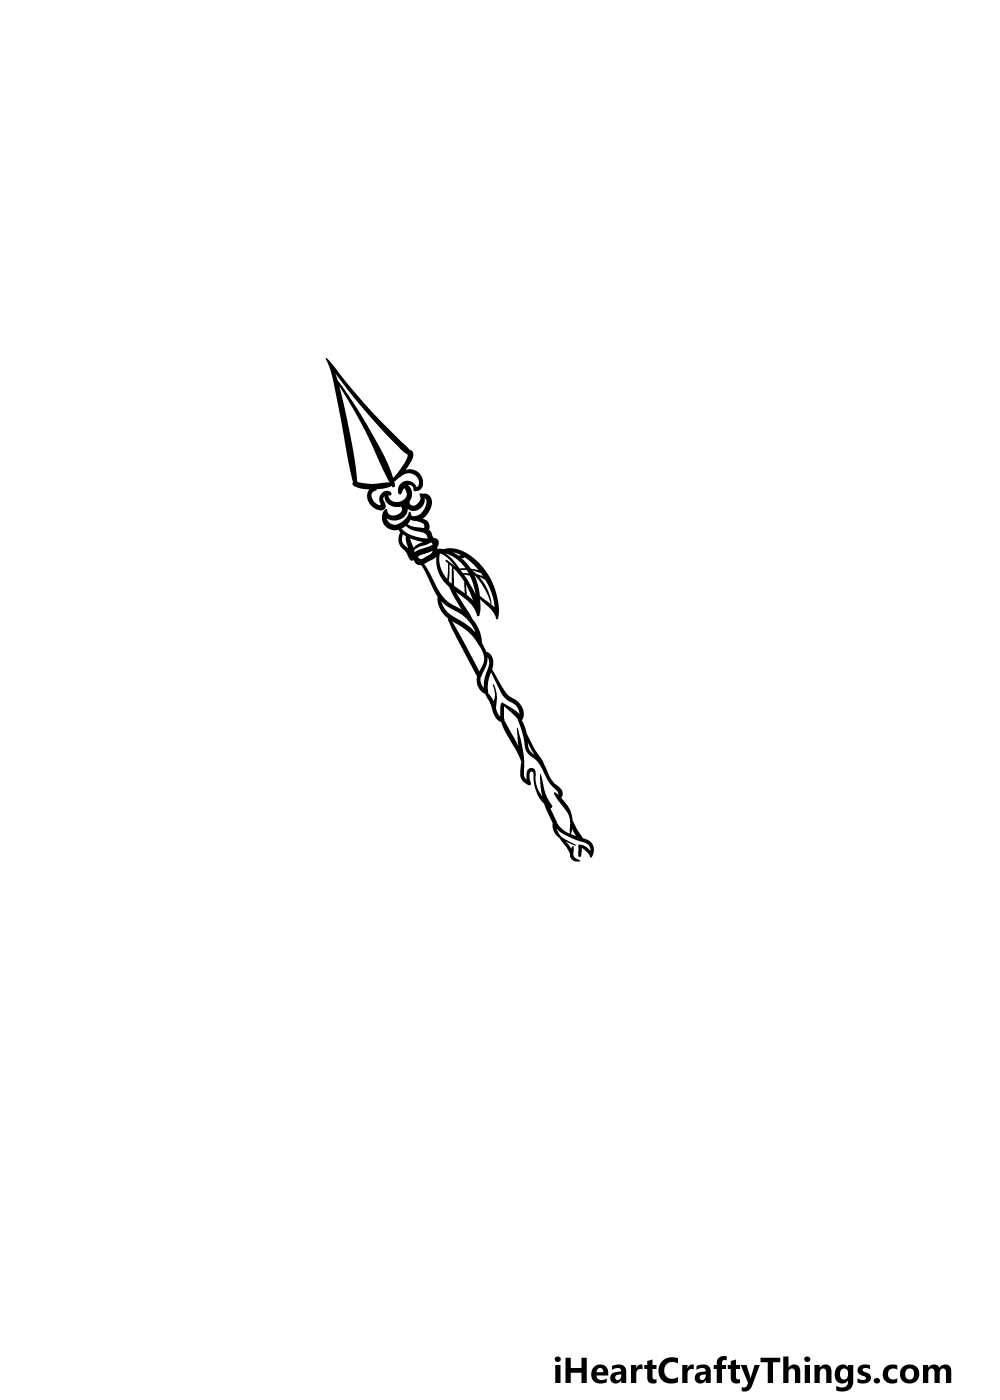
For this 3rd footstep of our guide on how to draw an pointer, we volition exist drawing some more of the shaft.
This function of it will likewise be decorated with some detailing that you lot tin can describe with some curved lines along the straight edge of the shaft.
The reference image will guide yous on how to replicate our design, and once you're happy with it we can go to pace four.
Footstep 4 – At present, draw the end of the arrow shaft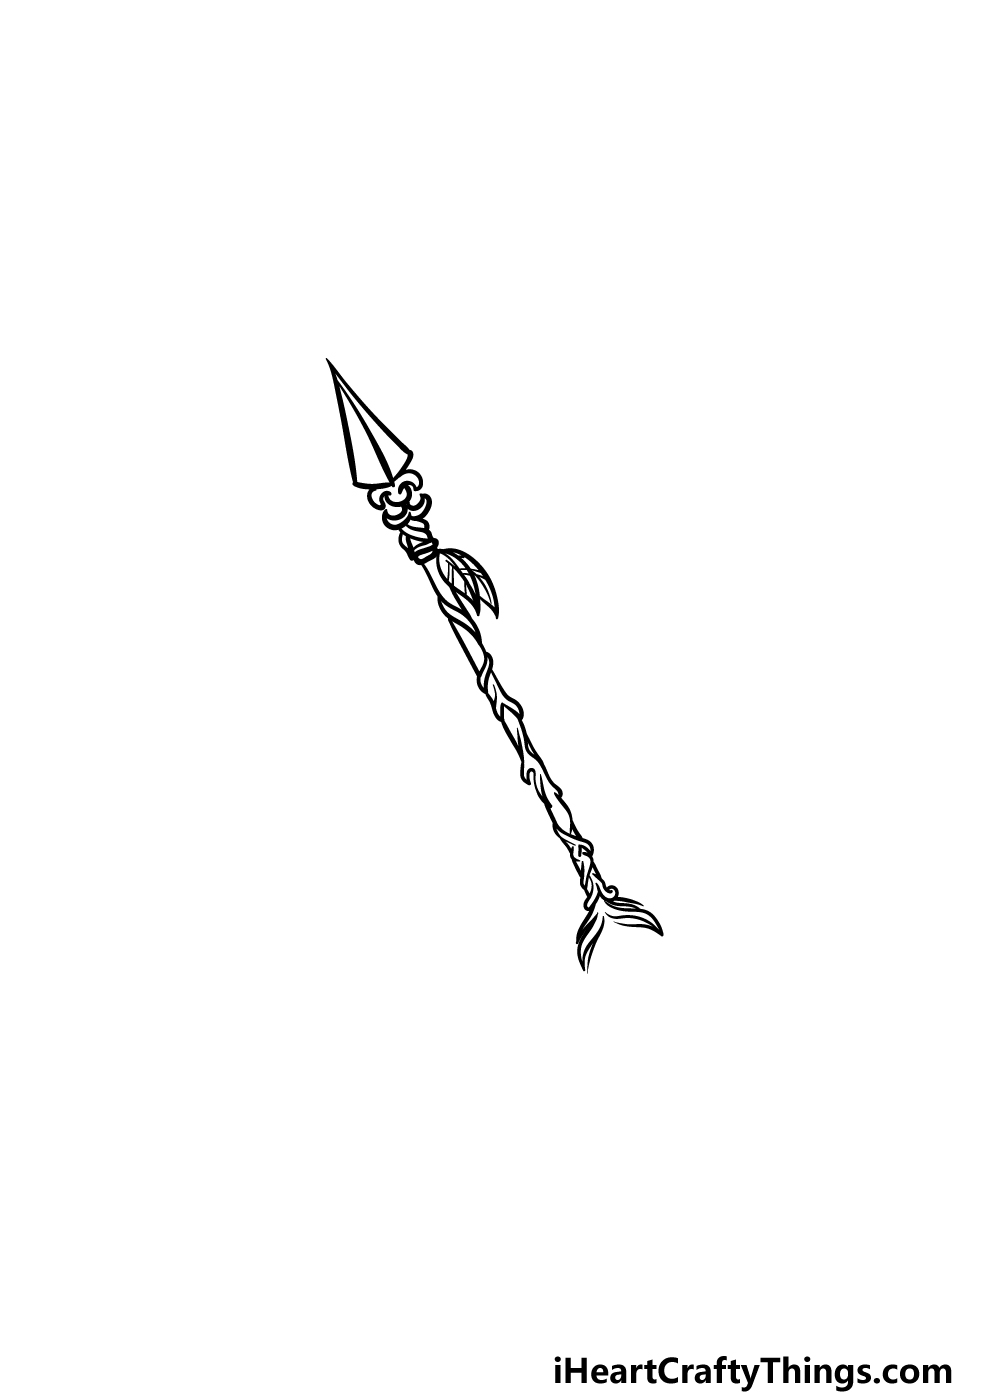
Before we draw the feathery fletching of the pointer cartoon, we volition be drawing some more of the shaft in this pace.
Simply draw some more of the detailing that we have started in previous steps to create the rest of this shaft.
You will also be adding some curved lines for the start of the fletching, just we will continue that in pace 5 as we add together some final details.
Step five – Finish off the fletching of the pointer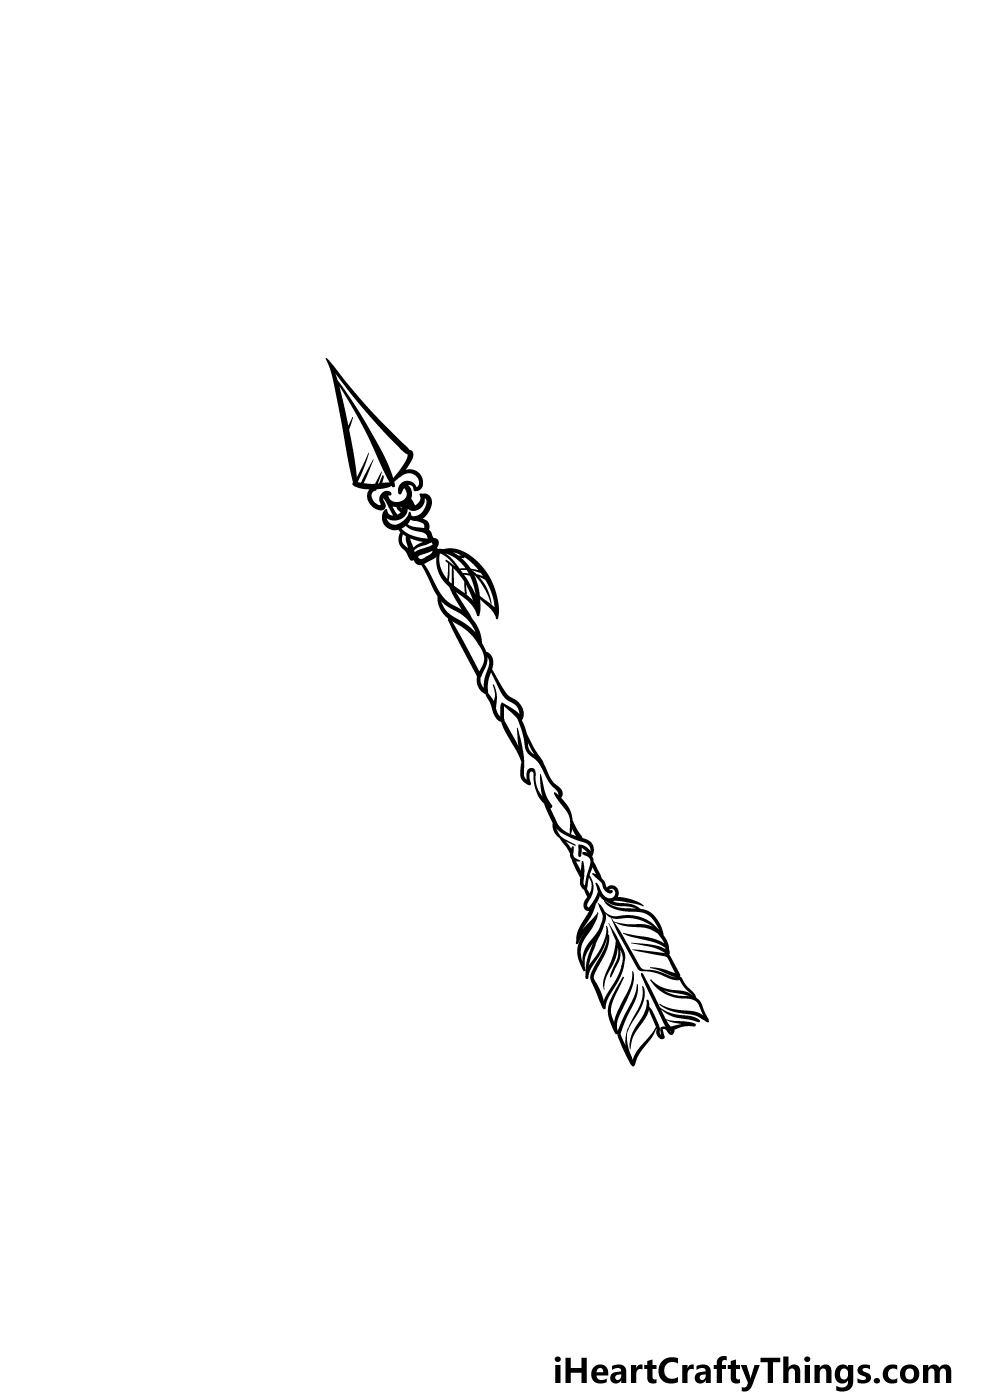
This step of our guide on how to depict an arrow will encounter yous cartoon the fletching of the arrow.
This is a feathery part at the end of an pointer that helps to better accuracy and stability for the arrow as information technology flies through the air.
To draw this, we will be using some curved lines that cease in points to create the feather-similar await of the fletching. Then, you can add together some line detailing to the tip and the shaft of the arrow to finish iff the texture details.
That volition finish off this drawing, simply at present you lot can add some details of your own to put your own spin on it!
1 absurd thought would be to draw a bow that has similar detailing on it to the arrow. You could wait up some pictures of bows to use as inspiration every bit you adapt it to this style.
You could also draw some arrows to get with it or a background, and so what else can you think of to finish off this drawing?
Footstep 6 – End off your arrow drawing with some color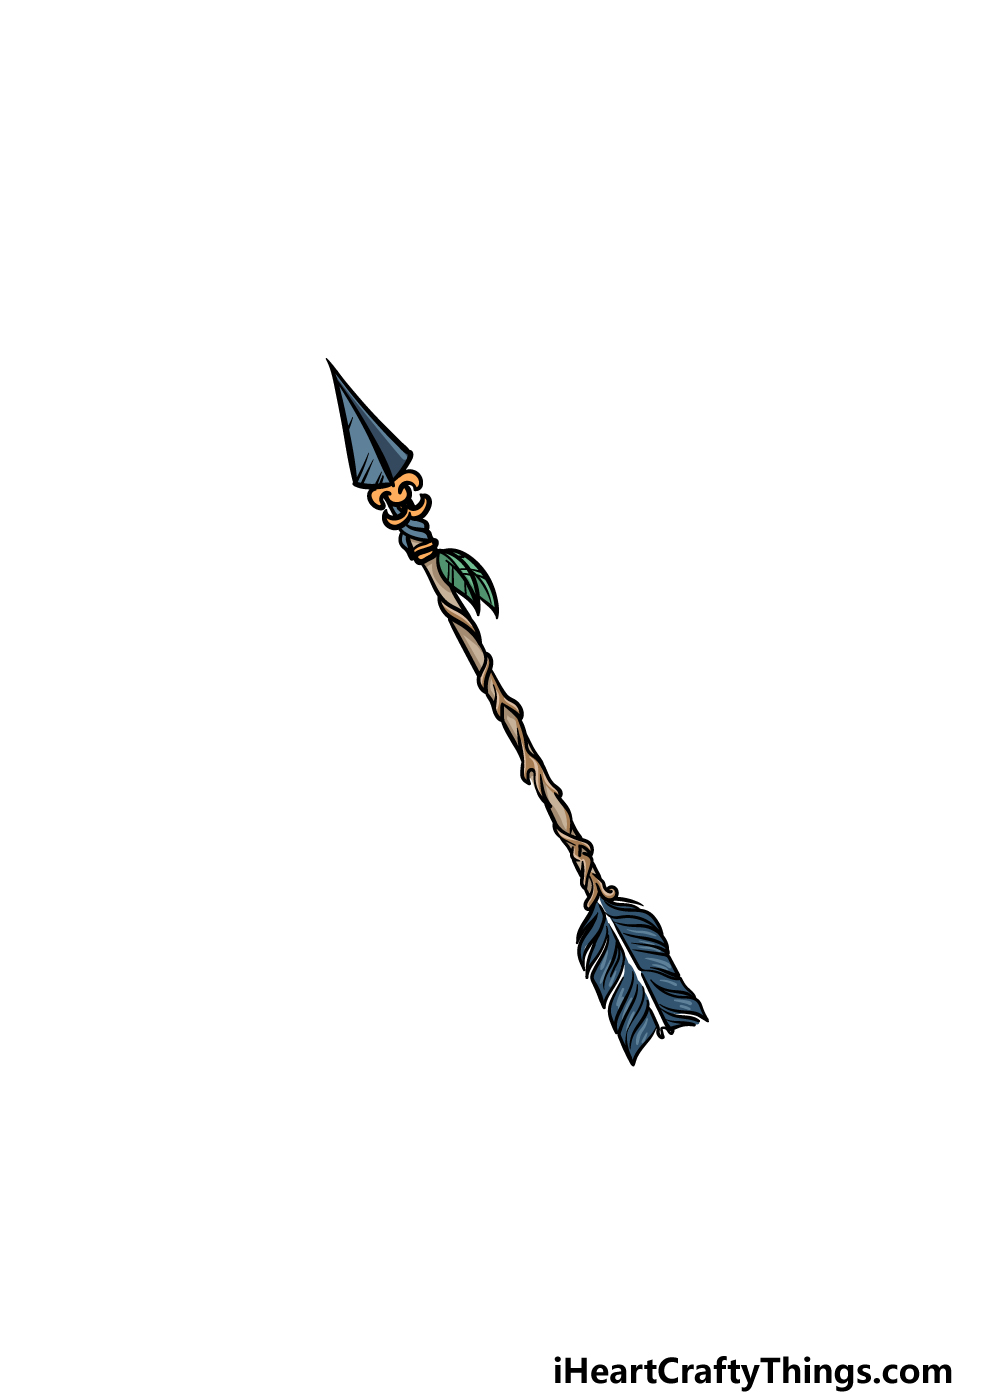
Your arrow drawing is near consummate, and the last thing to do is add some amazing colour to it! That'southward what we will be doing in this final step.
Our reference image shows you lot ane style that you could get about coloring in the paradigm, and nosotros used some blueish, light-green and brownish for it. These colors are just a proposition, however, and you should feel costless to utilise whatever colors y'all like for the picture!
When coloring it in, you lot may want to use fine art mediums that allow for more precise coloring. Colored pens, pencils and markers are bang-up for intricate details similar this.
If you would prefer a painterly wait, you can get paintbrushes with thin tips to give you more control.
These are just a few mediums and colors you could use, but what volition you choose to finish off your pointer drawing?
Your Arrow Drawing is Complete!
All the details are added and the colors filled in, and so now you have finished off this guide on how to describe an arrow!
We promise that yous had a bang-up time working on this cute pointer, and that the steps made it easy for you to piece of work through the process.
And so, exist certain to add together your own details and elements to this drawing that you may desire!
By changing the groundwork, details, colors and fine art mediums you lot can actually put your own creative spin on the moving-picture show. We can't wait to see what you practise!
Don't forget to cheque out our website for more drawing guides. We upload new ones ofttimes, and so exist certain to keep checking in to never miss out!
Once your arrow drawing is consummate we hope that you lot will share it on our Facebook and Pinterest pages. We will look forwards to seeing your creative artwork!![]()
schoenheimershichal75.blogspot.com
Source: https://iheartcraftythings.com/arrow-drawing.html